

How to manage Disk Space using Storage Sense in Windows 10 Settings
Storage Sense is one of the significant features of Windows ten. You lot tin use it to scrutinize and manage the files on your hard drive and be informed of how much space is occupied by different file types. It also lets you choose the Save locations for your apps, documents, music, pictures and videos. Moreover, yous tin use information technology to locate and clean up the files which are surplus to the requirements.
This particular characteristic has been nowadays on Windows Phone for quite some time now and it was brought to PCs every bit well with Windows 10, which was released with an thought on unifying the operating system across varieties of devices. Just like Storage Sense on Windows Phone, yous tin can use information technology on your Windows 10 PC besides, to manage the storage with a better insight into what is actually eating upwards your infinite.
In this post, we volition walk you through an in-depth guide for Storage Sense settings in Windows 10 PC, which you tin apply to clear the cache files in Windows x.
Manage Storage using Windows 10 Settings
To open Storage Sense settings, y'all need to launch the Settings app. Here's how to do and then:
1. Printing Windows Key + I key combination on your keyboard. This will launch Settings app.
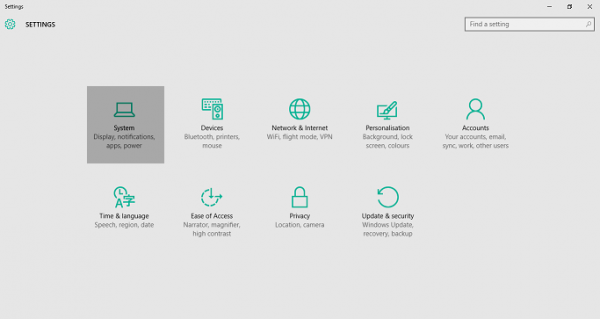
2. Click on System (Brandish, notifications, apps, power) on this screen, to open System settings.
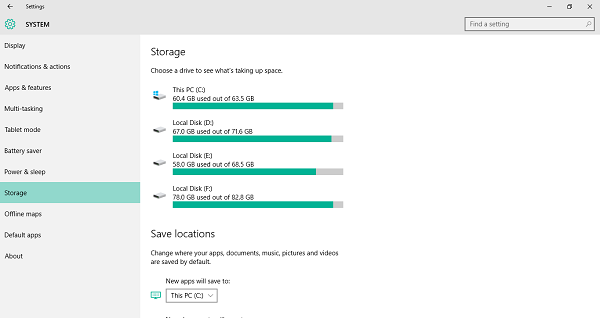
iii. On the left side pane, locate and click Storage. This volition open up upwards Storage Sense on your PC showing up an overview of used and bachelor space in each drive.
Check for Storage details on your Arrangement Drive
To check for storage usage on your drive where Windows 10 is installed, you can follow the below steps:
1. On Storage settings folio, Click on the C Drive which has the Windows logo attached to its icon, under Storage department equally shown in the below image.

two. This will open up up Storage usage details for that specific drive. You tin run across how much space has been used out of the full storage capacity of the bulldoze in question.
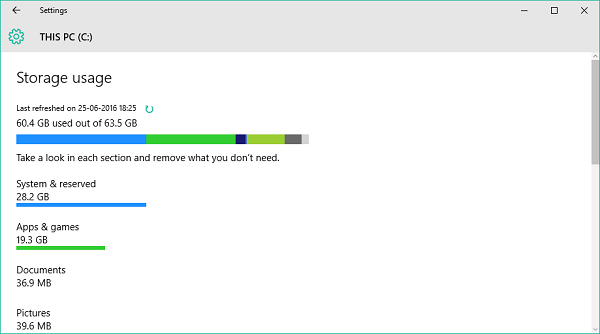
three. You tin also come across a colour palette which shows the space filled up by different sections and file types. You'll see those sections listed down below the colour slab. You can then accept a look into each one of them and remove what you lot don't need to clear upwards some room. This post shows in detail how you can delete files & clean up your Hard Disk via Windows 10 Settings.
Read here about the Storage Diagnostic Tool in Windows 10.
Remove what you lot don't need
There are several segments listed below the colour palette which show the space occupied by each ane of these. Let'due south accept a await at each:
System & reserved
In brusk, this sections contains the files which provide necessary juice for your PC to run Windows 10, so certainly you wouldn't want to mess up with this item portion. It contains System files which ensures that Windows is running properly, some files for Virtual retentiveness which lets your PC do multi-tasking, a Hibernation file which lets your PC take a nap while maintaining your user state and Organisation restore files which can be used while restoring your PC to a previous version/build.
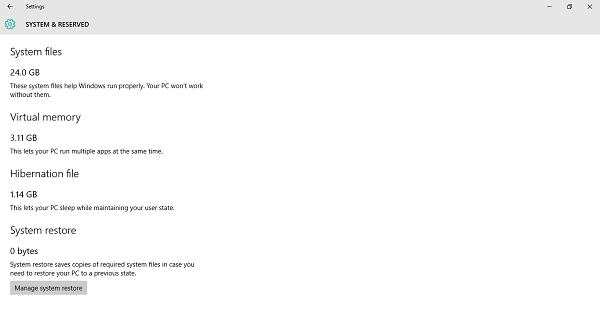
You tin click on the Manage organization restore button to enable System Restore.
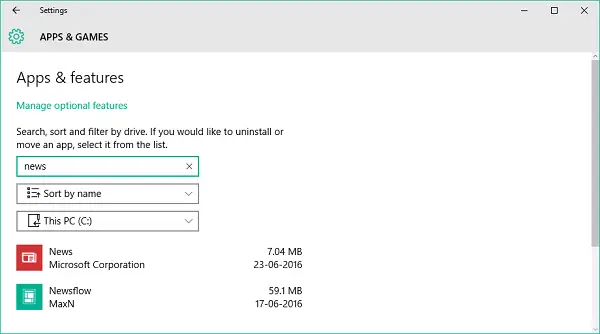
Apps & games
In this section, yous take details regarding the apps and games that are installed on your PC. Yous can search these apps in any drive on your PC and sort the results according to proper name, size or installation date. These settings are also available nether Apps & features tab on System settings page.
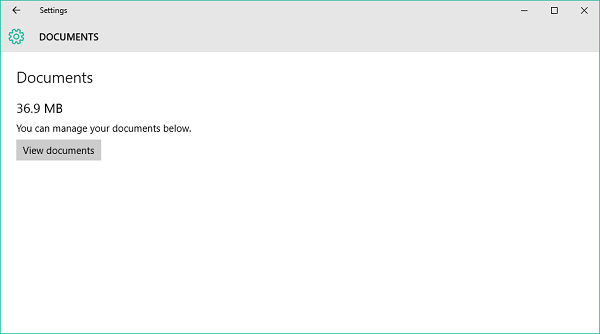
Desktop, Documents, Pictures, Music, Videos
Yous tin use these sections to manage the files saved nether corresponding folders at your User Account directory (C:\Users\Digdarshan\). Space occupied past all these folders is also shown in the corresponding window.
OneDrive, Mail, Maps
You lot can also see the space that has been filled up by files saved at OneDrive location in your PC, various files related to your mails and attachments and downloaded offline maps. All these tin be managed by opening related apps and settings.
Temporary files
This is your spot to get rid of some unwanted files and gain some infinite. There can be several temporary cache files, deleted files stored in Recycle Bin, files related to the previous version of Windows (Windows.one-time files are also included in this).
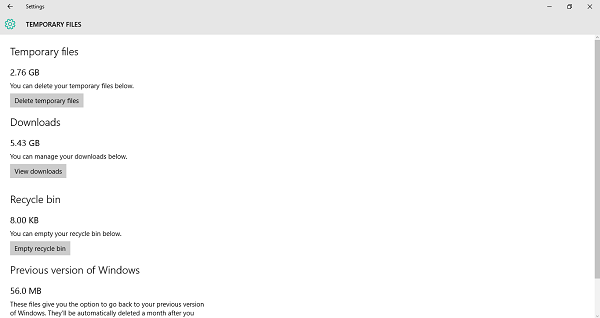
Yous can explore each of these sections to know more than well-nigh information technology and how you can bargain in some infinite.
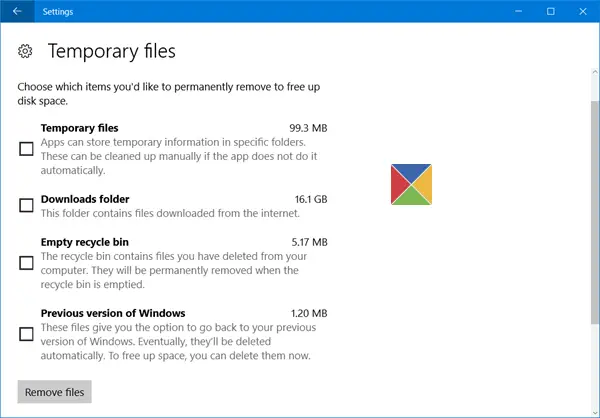
Immigration previous Windows installation files will help you reclaim a lot of disk infinite.
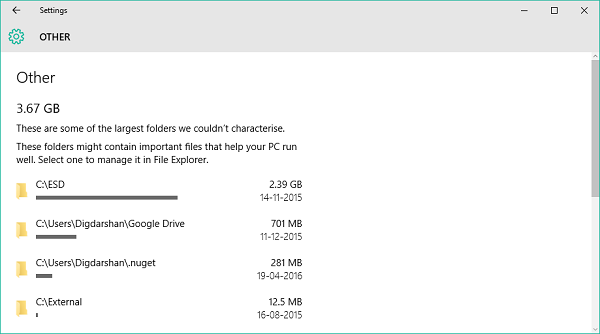
Other files
This portion contains such folders in your bulldoze which are taking up large space and aren't categorized in any of the above sections. You can picket effectually and take a await at these locations to identify whether anything can exist cleared up from here.
Similarly, you tin can manage your other drives equally well.
Take a look into each of these sections to pivot down the files and folders that can exist deleted without affecting your PC.
That's it for today folks! Come back once again for tips on more Settings app components.
Windows xi user? This post will show you how to use Storage Sense in Windows eleven to free up deejay infinite.


Source: https://www.thewindowsclub.com/storage-sense-windows-10
Posted by: andersonhaplen57.blogspot.com
0 Response to "How to manage Disk Space using Storage Sense in Windows 10 Settings"
Post a Comment